Use APKPure App
Get DIY Wooden Guitar Stand Tutorials old version APK for Android
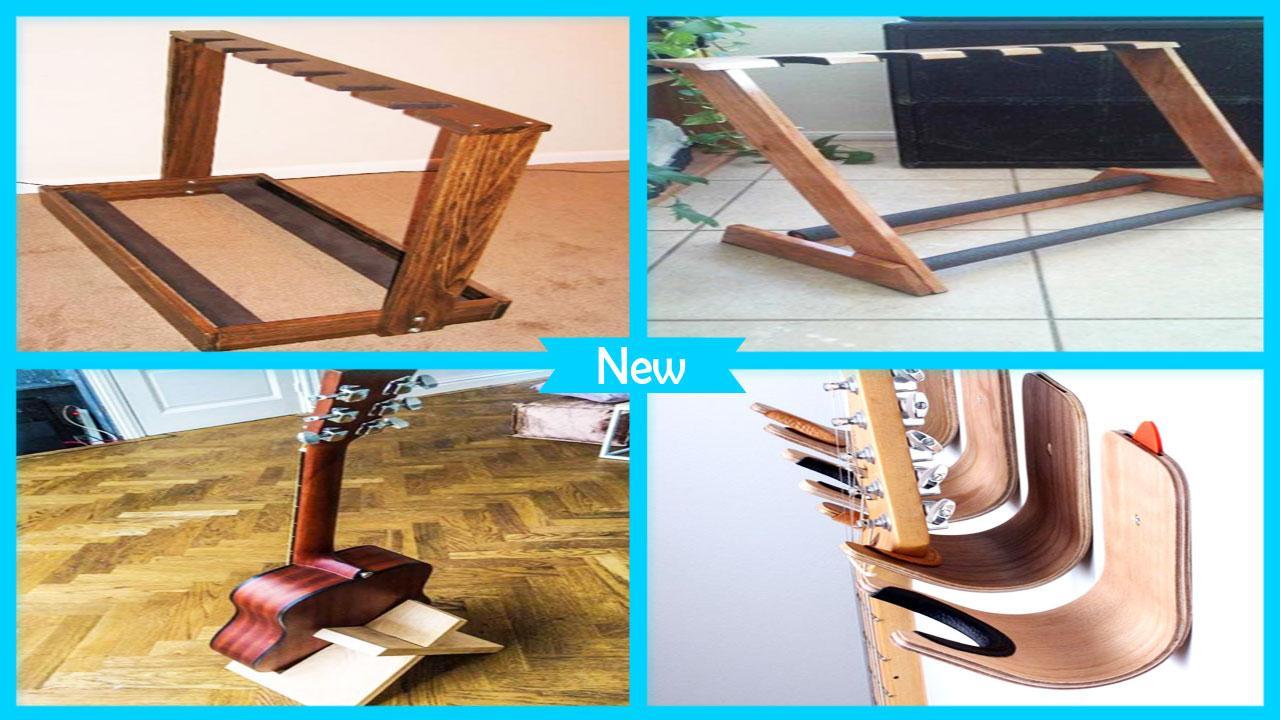
Step By Step Instructions Learn How ToDIY Wooden Guitar Stand Tutorials
This DIY wooden guitar stand is a perfect beginner build. You only need a few inexpensive tools, a jigsaw and a drill, to build this stand. we designed the stand to fit most electric guitars, acoustic guitars, and banjos, but you could print the template at a smaller size to work with ukuleles and violins.
Step 1: Gather Materials & Tools
As we said, this is a pretty basic build tools-wise. The project can be built from one 2 foot long 1x12, as long as you layout the pieces correctly.
Step 2: (Optional) Engrave Quote Onto Guitar Stand Using CNC Router
we have access to some pretty cool tools, including a CNC, so we tricked out my stand by engraving one of my favorite quotes onto the sides of the stand. This is obviously completely optional.
Step 3: Attach Template Using Spray Adhesive
Next, I attached my template to one side of the stand using spray adhesive. apply spray adhesive to the paper and to the wood, then let it dry for a few minutes before attaching them. Doing this will make the paper template a LOT easier to remove later.
Step 4: Cut Shape Using Bandsaw / Jigsaw & Drill Relief Hole for Router Bit
we cut one side of the stand to shape using my bandsaw, but you could definitely use a jigsaw for this. Follow the line as closely as you can, and take it slow so you get a clean cut.
we also drilled a hole in the side of the stand. This is kind of optional, the reason we drilled this is so the flush trim bit on my router (used on an upcoming step) can get into this tight corner. If you're just going to be cutting both halves out and skipping the router, you can skip this step too.
Step 5: Refine Guitar Stand Shape Using Oscillating Belt Sander
Next, we refined the shape of the stand using my oscillating spindle sander. If you don't have one of these, you can just use sandpaper and files instead.
Step 6: Rough Cut Other Half of Stand & Flush Trim Using the Router
To get the other half to size, I traced the first half onto the second half, rough cut the shape at my bandsaw, stuck the two halves together using double sided tape, then used a flush trim bit on my router to flush them up.
If you don't have a router, you could just cut the other half to final size, stick the pieces together, then use sandpaper and files to get them to the same size.
Want to know more ?
Download this application now and get what you want here. worth to try and you will like it.
simply share through any social media platforms. thank you for downloading. please enjoy and give us any feedback.
Dernière version
![]() 7.1
7.1
Telechargé par
Caio Ruan
Nécessite Android
Android 4.0+
Catégories
Signaler
Last updated on Nov 26, 2017
Each DIY Wooden Guitar Stand Tutorials has helpful photos and step-by-step instructions to ensure you don't miss a step. Once you've mastered any one of these new DIY Wooden Guitar Stand Tutorials, find a DIY Wooden Guitar Stand Tutorials and put your skills to the test!
Feature List:
✓ Amazing 300+ DIY Wooden Guitar Stand Tutorials with step by step.
✓ You can share all tutorial to social media and other
✓ Zoom in, zoom out for all tutorial.


Discover what you want easier, faster and safer.


DIY Wooden Guitar Stand Tutorials
7.1 by Triangulum Studio
Nov 26, 2017